Exercise 4 - 3D segmentation using TrackMate (StarDist)
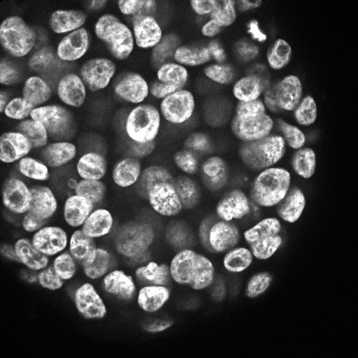

3D stack of cells in a spheroid from Zenodo.
Open above Z-stack in Fiji and run the
TrackMateplugin, just like in Exercise 2.Since this is a Z-stack and TrackMate works on a time-lapse sequence, we need to swap Z and T dimensions. TrackMate automatically detects it and asks for dimension swapping. Click
Yes.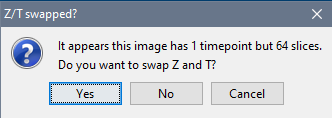
For the detector, choose
StarDist detectorfrom the drop-down menu.
For the tracker, choose
Simple LAP trackerand the following tracking settings:
Linking max distance=5 pixel(a lower value than in Exercise 2, since the cells are not moving)
Gap-closing max distance=10 pixel
Gap-closing max frame gap=0(since cells are not disappearing from frame-to-frame)
Keep clicking the next button until you reach the
Display optionswindow (image below). Choose:
Color spots by: Track index
UncheckDisplay tracks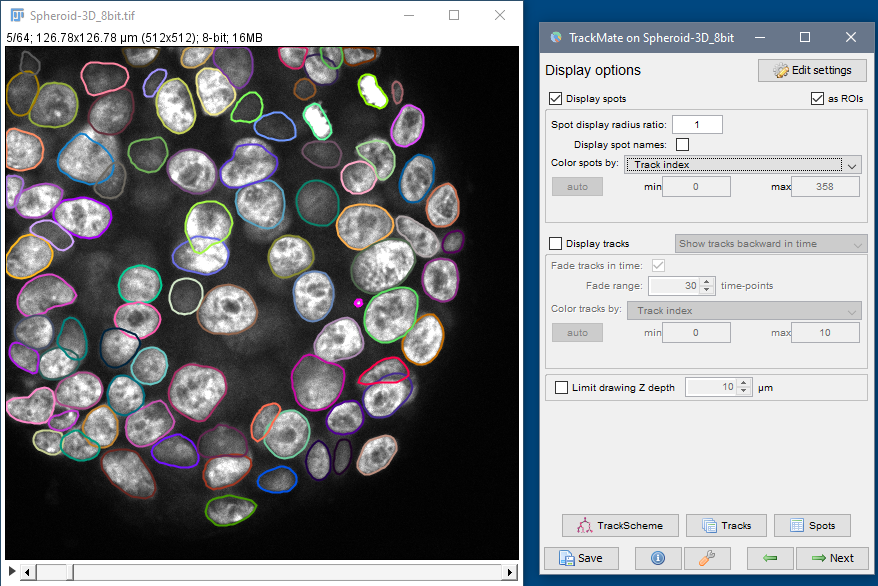
Every cell will be outlined in a different color. Scroll through the stack to check the accuracy of the results. If results are not optimum, go back to the detection and/or tracker steps by clicking on the previous button (green left arrow) and changing the settings under detector and tracker.
On the last TrackMate window called
Select an action, generate a label image by selectingExport label imagefrom the drop-down list and clickingExecute. It will generate a grayscale Z-stack.
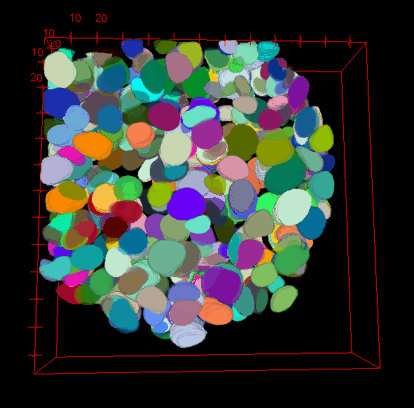
Apply colors to cells with an LUT:
Image › Lookup Tables › glasbey_inverted
For creating a 3D rendering, swap Z and T dimensions back to the original values by selecting
Image › Properties...and enteringZ=64andT=1. Click OK.Generate 3D rendering by using 3D viewer plugin:
Plugins › 3D Viewer. SelectResampling factor = 1.
If a window pops up asking to convert the Z-stack to 8-bit or RGB image, clickYes.
In the ImageJ 3D Viewer window, use left mouse click and drag to rotate and inspect the volume.
Well done, if you finished all 4 exercises!